Most of us can agree that we do not like getting our passport pictures taken. Not only is it such a hassle as there are many pointers to take account when getting your picture taken, but it also can be rather costly, especially if you rely on getting your picture taken professionally by going to a studio.
And let’s not get into how we almost always request for our pictures to be retaken over and over again because no matter how hard you try, it never turns out how you want it to be. We’ve all been there…
However, maybe for future reference, we could try this new method that could be super helpful!
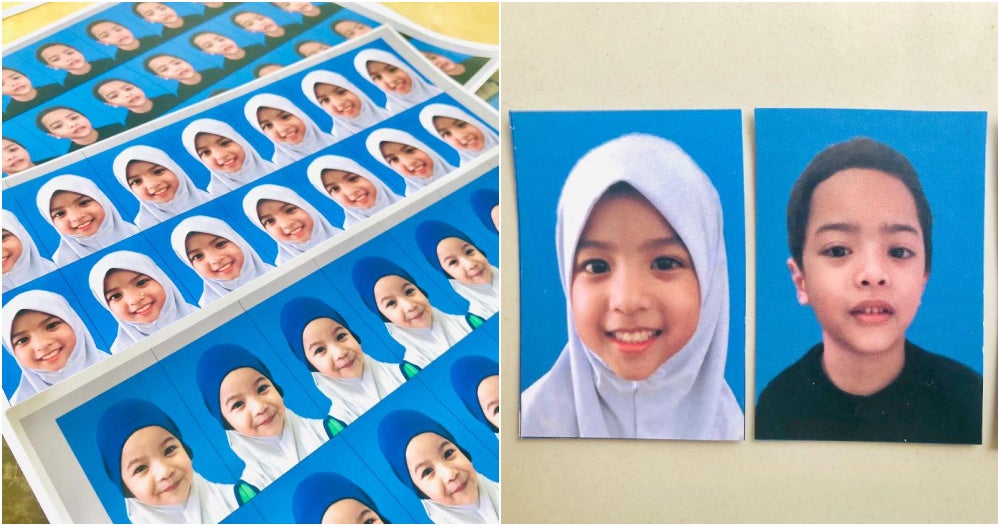
Malaysian mum Nana Ruzanna, took on her Facebook to share how she managed to take her passport pictures of her children all by herself. The best part is, she did it in the comfort of her own home and it did not cost much at all!
Sekolah pakat dah mintak gambar passport bebudak ni. Nana shoot dan print sendiri je. Ada yang menyenget, ada yang…
Posted by Nana Ruzanna on Monday, January 25, 2021
Nana explained in her post that since schools are asking for passport pictures of her children, she decided to try doing it herself. The results were amazing! Hence, she decided to pass along her wisdom that she learnt on her own. Well, sharing is caring!
Her post garnered over 2,200 likes and 26,000 shares from people who found it very helpful!
She gave step-by-step instructions and we got to say, it is quite simple! Let us break it down for you.
Step 1: Grab Your Smartphone
It doesn’t have to be any fancy or luxurious brand. Just as long as you have a clear and working camera to take good quality images is all you need!
Step 2: Download Passport Picture Editor Application
- IOS Users
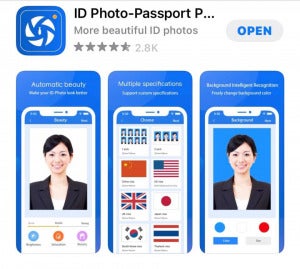
If you are an Apple user, you can download the application called ‘ID Photo-Passport Photo maker‘. It is super user friendly. This application will help you pick the appropriate background for your picture as well as the correct size. So, you don’t have to resize it or cut the picture in any way.
- Android Users
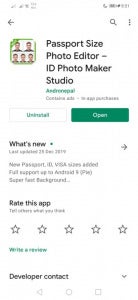
Don’t worry, we did not forget about you Android users! As suggested by Nana, the ‘Passport Size Photo Editor‘ application available on Google Play store will do you justice as well!
Once either of these applications has been downloaded, you can start clicking away! Say cheese!
Step 3: Printer With Coloured Ink & Photo Glossy Paper
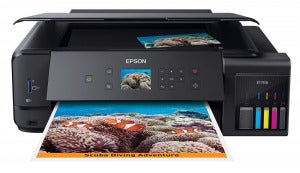
If you already have a coloured printer at home, that would be an added bonus! But, be sure that the printer has a setting for glossy paper. Photo glossy paper is a definite must when printing the pictures. You can get these glossy papers online for a very cheap price!

But for those of you who do not own a coloured printer, you can just head over to the nearest photo shop or studio to get it printed. Nowadays, thanks to the advancement of technology, you can even get your pictures online and delivered to your home. Everything is just a click away!
Step 4: Patience & Precision

Nana tells us that this step is absolutely crucial. Take your time and don’t rush when taking the pictures. According to Nana, it is an added bonus if your ‘model’ provides you with solid cooperation.
“I snapped pictures of all my kids at different times. It depends on their mood at the time. It’s okay, take your time to get the best picture. Not satisfied, just delete. Take it again. After all, this is your photo shop. It’s open 24/7,” she said in her post.
Will you give this a try the next time you’re taking a passport picture? Let us know in the comment section below.
Also read: “Photoshop is so hard!” Here Are 7 Reasons M’sians Will LOVE This Free & Easy Photo Editing App

