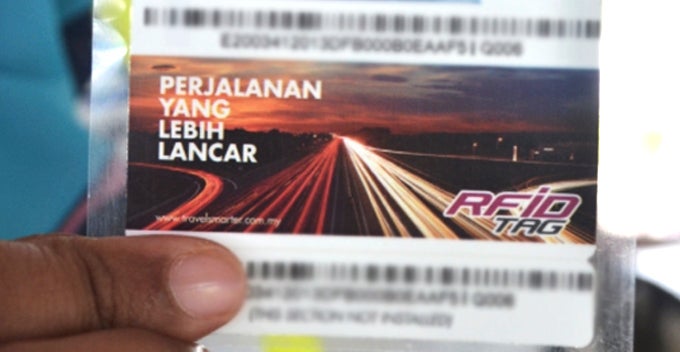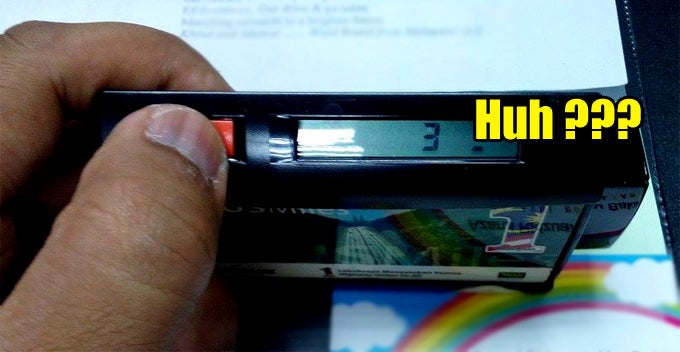
If there’s one problem that bugs Smart Tag users, it is the faulty display screen on the side. You don’t want to spend another RM127 for a new one, but at the same time you cannot tahan the faulty display.
Source: facebook
Thanks to these simple steps shared by this netizen, you can actually fix the problem by yourself!
Here’s what you need:
- A Smart Tag with a faulty display (duh!)
- A 2B pencil and eraser
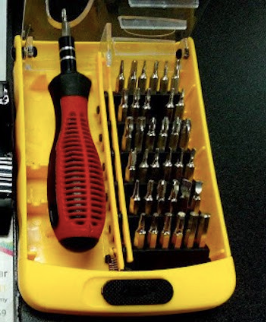
- A screwdriver set which you can get at MR DIY for below RM10
Source: facebook
So here’s what you need to do.
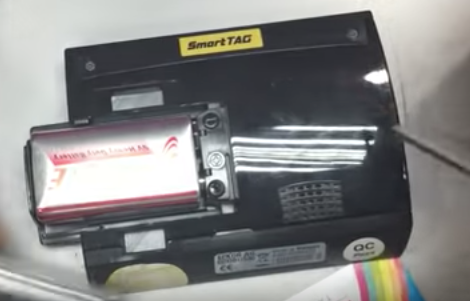
1. Remove the battery and Touch ‘n Go card.
Source: youtube
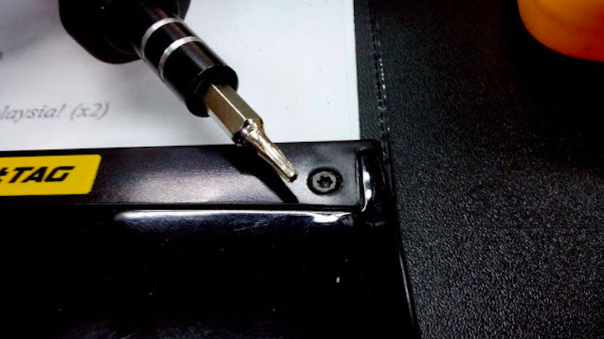
2. Find the screwdriver with the star-shaped tip.
Source: facebook
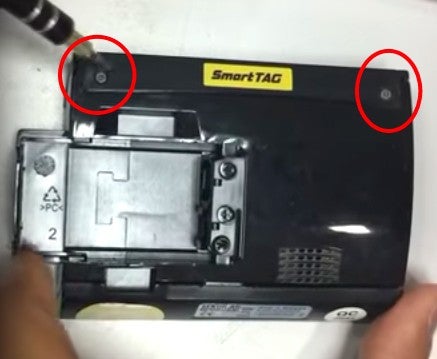
3. Remove the top 2 screws.
Source: youtube
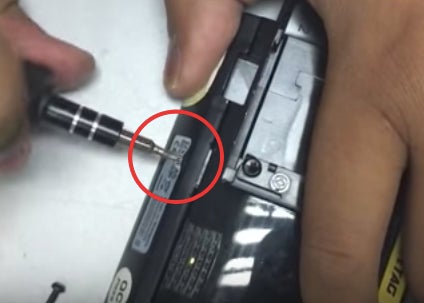
4. Remove another screw covered by the warranty sticker. You can either poke through or carefully remove the sticker with a blade first, your choice.
Source: youtube
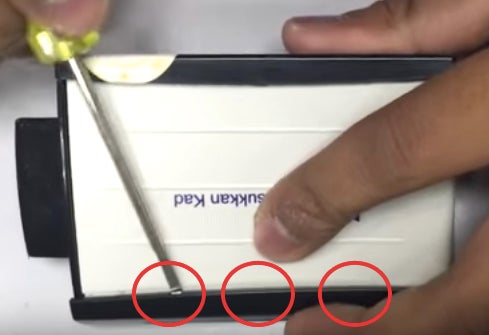
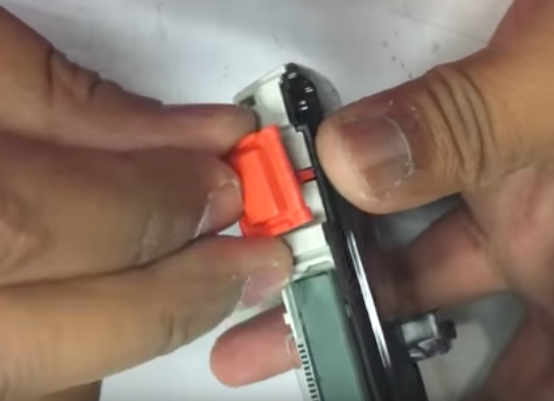
5. Remove the top casing. Pry gently at 3 points using a flat-head screwdriver.
Source: youtube
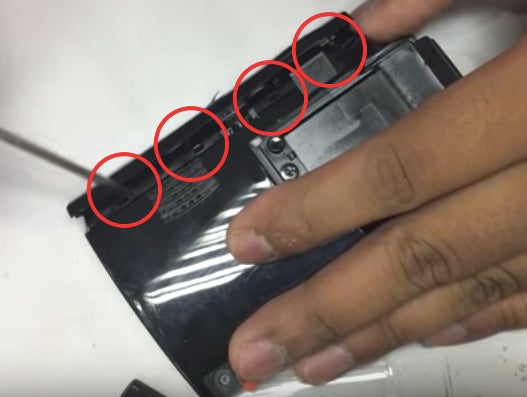
6. Remove the bottom casing. Gently pry at 4 points from the BACK.
Source: youtube
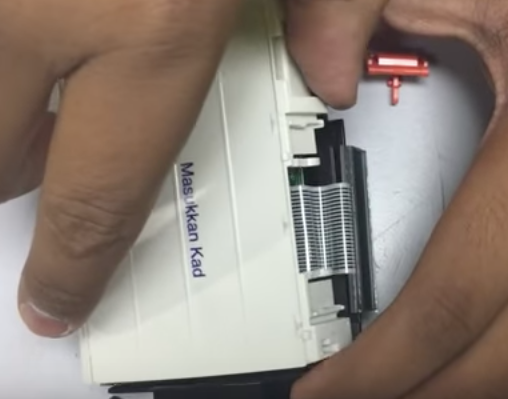
7. Remove the white plastic cover.
Source: youtube
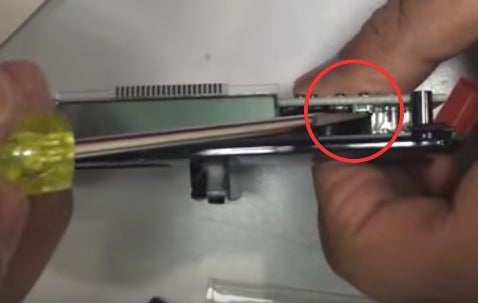
8. This is the switch. Use a test pen or screwdriver to reach for it when testing the device later.
Source: youtube
9. The faulty display is the result of poor contact between the ribbon cable and your Touch ‘n Go card.
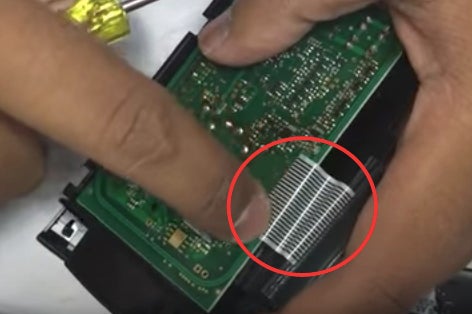
Source: youtube
10. Scribble on the ribbon cable with a 2B pencil for 10 seconds. Be very gentle with it.

Source: youtube
11. Place the card on the device and press the switch with a test pen. Remember to insert the battery!

Source: youtube
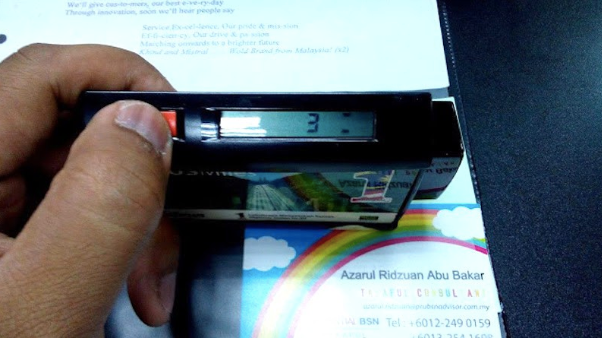
12. The display should be working fine now. IF NOT, gently clean the ribbon cable with an eraser. Then repeat step 10 and 11 until it works.
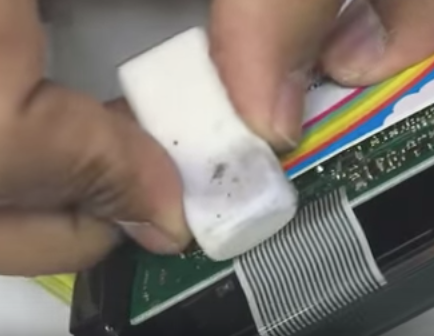
Source: youtube
13. Once the display is working again, reassemble the casing accordingly and you’re good to go! Don’t forget about the button!
Source: youtube
If you have a Smart Tag that displays alien language, you know what to do! 😉
Also read: New Toll System to Commence in January 2018, Here’s How it Will Affect You